Tutorial: Interacting and Scripting on the UE with Culebra
Introduction
The PhantomNet testbed is designed to allow users to emulate realistic networks using the emulab system. In order to make this testbed useful to developers, we must then develop an interface that allows users to interact with the UE devices provided on the PhantomNet infrastructure as well as develop scripts to automate tests. We use the Culebra GUI, built on AndroidViewClient, to allow this functionality. This tutorial will take you through the process of interacting with the UE device on the PhantomNet testbed as well as scripting on it. We will also cover using Culebra on your local machine in order to create a test on a phone hooked to your machine and then sending and running that test script on the remote device.
Interacting Manually with the UE
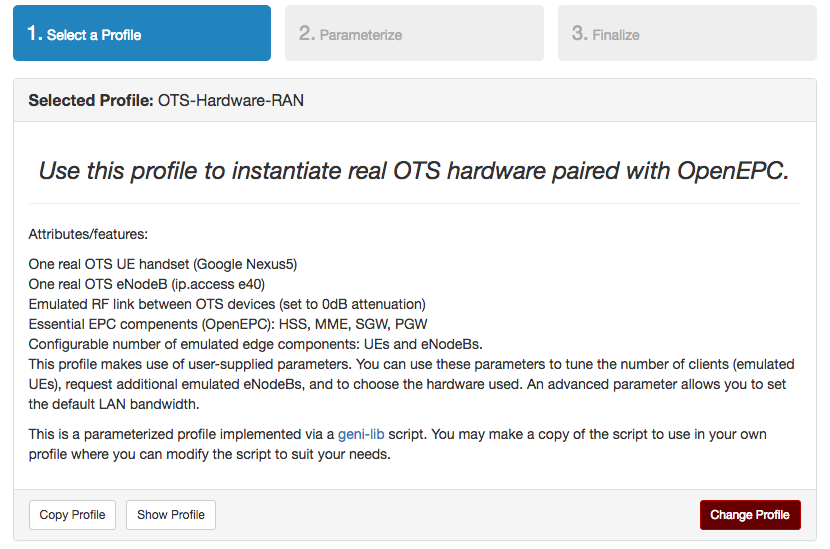
Instantiate a PhantomNet experiment: Go to PhantomNet’s website. In the top right corner, hit Log In and enter you username and password. This will take you to the screen to instantiate a PhantomNet experiment (If it doesn’t, click on Actions on the top left and then on Start Experiment). Here, click the choose profile button and select OTS-Hardware-RAN. Then click Select Profile in the bottom right. A brief description of the topography appears. In the bottom right, click the Next button.
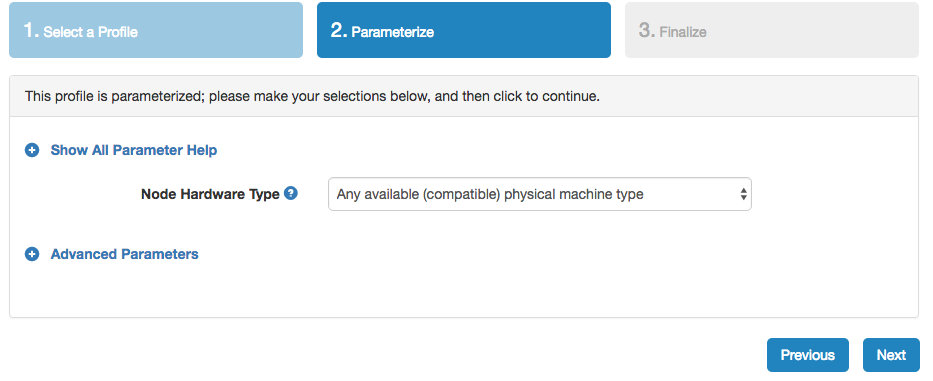
In the second screen, leave the parameters as their defaults and click Next.
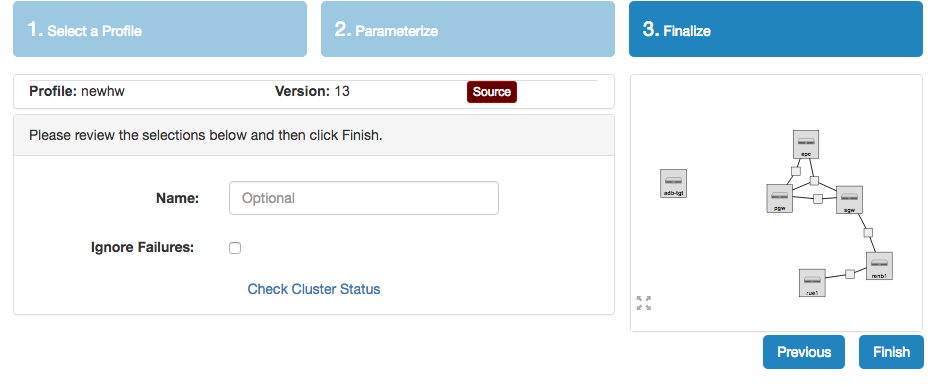
This will take you to the final screen. Here you can enter a name for the test (optional) and get a closer look at your setup before you start the experiment.
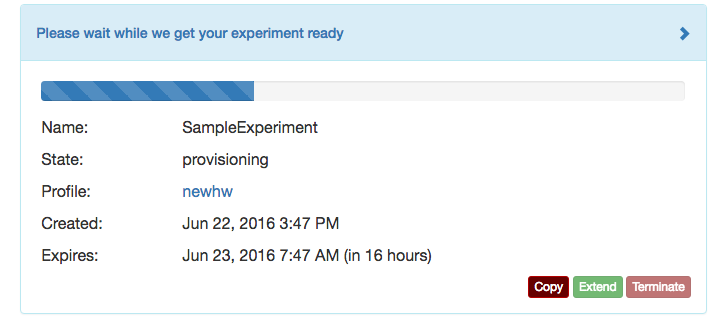
Finally, click Finish. This will begin the setup of your PhantomNet experiment.
What we just created is a virtual network, the network core being OpenEPC software running on three nodes (SGW, PGW, and EPC nodes). This core is then connected to the EnodeB, which is an actual physical EnodeB present in the setup of the experiment. These act as the base stations. Then, we have a real UE device (Android phone, in our case, a Nexus 5). This is connect to the base station, and our attenuator matrix between the two will allow us to tinker with the network. The final node allocated in the experiment is the adb-tgt node. This node is put mostly for ease of use. On this node, we preload all the tools necessary to interact and script on the UE. We will go into more detail later on into the specific functionalities provided. We will work out of this node to run culebra and adb commands (will provide more details later).
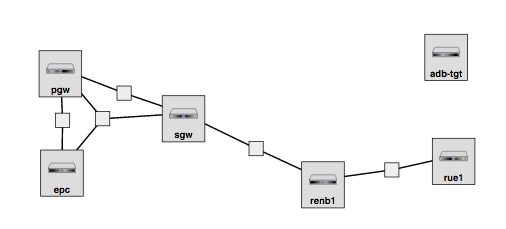
While the experiment is being set up, we will need to insure that you will be able to connect to and see what the adb-tgt node sees. In order for this to occur, make sure you have both added your ssh key to the PhantomNet's site and installed and X11 forwarding system. These in combination will allow us to see what the adb-tgt node is seeing. In order to add your ssh key, go to Actions in the top left and hit Manage SSH Keys. If you ever need to find your way back to your experiment, you can always hit Actions and then My Experiments. From there you can reopen your experiment's page. If you don't have an X11 forwarding system, follow the corresponding instructions below, otherwise skip ahead to the next instruction.
MacOSX: Mac uses a program called XQuartz to allow X11 forwarding. To download, go to XQuartz's website, download the .dmg, and follow the installation instructions. Once you have this completed, XQuartz will be added into your utilities folder in Applications. Open the program, and when you see it's name in the menu bar, click Applications, then Terminal. This will open an Xterm terminal. Use this terminal to complete the next steps.
Windows: Windows uses a program called XMing. To download use the XMing site. Go to the files tab, then to the XMing folder and download the setup executable. Once this is installed, you should be able to start up your X server by going to all Programs and running XMing. More details on usage can be found at the XMing site.
Linux: Linux requires no installations, only the -Y in the ssh call. As this is specified in the future instructions, Linux users can skip to the next instruction.
NOTE: This tutorial was created on a Mac, so be warned that Windows and Linux instructions maybe require some additional work (XMing in particular) on the part of the user. Be sure to read through links to ensure your system is up to scratch for your system version.
Once the experiment is all setup and you have X11 forwarding setup, go to your X server terminal. Then, on your experiment page, click on the List View tab, and find the row for the adb-tgt node. Next type the following into your x-terminal, substituting your PhantomNet username and the Node Name for adb-tgt specified in the list view:
ssh -Y username@node_name.emulab.net
For example:
ssh -Y bob@pc999.emulab.net
This will ssh you into the node, and set up the X11 forwarding with the -Y option.
Once inside, you will use ADB to interact with the phone. ADB stands for android debug bridge, and is a system created by Android to allow control and interaction with the phone through the command line. In order to connect to the UE device, we can use a wrapped version of ADB. In the command line, type:
pnadb -l
This will list the UEs available, in our case, the single UE device we instantiated in the profile.
UE Nodes
Name Node ID Console Server Port
------------------------------------------------------------------------------
rue1 ue1 pc599.emulab.net 8001
As you can see, we connect to our UE through a port on pc599.emulab.net, which in this case is 8001. In order to connect through adb to the device, you can either follow the prompt, or do the easy:
pnadb -a
This will start up the adb daemon and connect to all available devices.
* daemon not running. starting it now on port 5037 *
* daemon started successfully *
connected to pc599.emulab.net:8001
If you have modified the profile and would like to only connect to one, you could run (substituting in your port number):
adb connect pc599.emulab.net:port_number
If you would like to explore more with adb, you can view more possible actions here. We will not revisit ADB seriously in the remainder of this tutorial, however, it can be used to access the phone's shell, run and exit programs, and install and uninstall apks.
Once we're connected, we can use the Culebra GUI system to see and interact with the phone manually. Culebra is a python-based system that allows you to connect to, view, and interact with a device connect to a machine over ADB. More about Culebra GUI here. Run:
culebra -s pc599.emulab.net:port_number -uG -P 0.25
This will open up a separate window on your screen. Give it time to load, until it says Culebra and then a version number on top.
- If your system throws an error that looks like the one below, it means your X11 forwarding system is having trouble setting up and should be revisited.

Once the screen loads, there is a good chance the screen will be black, as the UE is asleep. To solve this issue, right click on the screen and select Wake Up or click Ctrl-K to open the control panel, hit Power in the top right, then click back on the phone screen and click F5 to refresh the image (you can do it at any time to refresh the image from the phone).

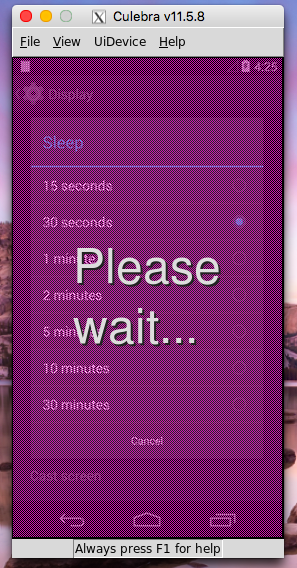
Once you've woken up the phone, you can now play around with the GUI. You can click on the screen, and it will tell you to wait, and then load the following screen. IMPORTANT: This system works great, but relatively slowly. Be patient and only complete one action at a time.
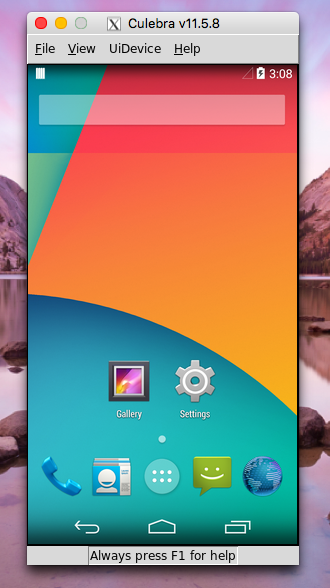
Some points about our usage of Culebra:
- We use -s pc599.emulab.net:port_numberI so that Culebra can find our device using its serial number.
- We use -G to open the GUI.
- The -u tells the system not to take a full snapshot of the phone screen and inspect it's items. We turn it off during interactions in order to speed up the speed of the system. We will further discuss its usage later during the scripting portion of the turorial.
- The -P 0.25 scales the phone image down on the screen. Because it does a pixel to pixel approximation, and the phone has a higher pixel density, we must scale down or the screen is giant. Feel free to change this for your screen's resolution.
Some tips for interacting with the Culebra GUI:
- You can always press F5 to refresh the image on the screen.
- Typing Ctrl-K pulls up the control panel which provides additional buttons and options, as well as a keyboard.
- In order to drag, right click and then choose Drag Dialog. Then click grab next to starting point and click where on the screen you want the drag to start. Next, click grab next to the end point and click where on the screen you want the drag to end. Then, click Ok. The page will refresh, with your drag complete.
Scripting with the Culebra GUI on the Remote Device
You may have noticed that in the terminal we called the culebra command from, a script is generated. As we click around the GUI, the script is automatically generated by the Culebra system. That script can be played back to repeat the actions we just completed in the GUI. In order to save it to a file we can playback, we need to adjust the way we are calling the culebra command.
- To start, we need to add the -U tag. This tag tells the system to generate a Unit test and is required for the script to play back correctly.
- The next thing we need to do is add the -o tag. By adding this followed by a file path, we tell the system where to store the script. Generally, we store in the user's home directory: ~/filename.py. When we add this option, we will no longer see the script being created in the terminal.
- Before we run the new script, we should revisit and reexamine the -u tag. Culebra as a service automatically captures each screen and take what they call a dump, that is, they see what's on the screen and record it in the script. That way, when we go back and play the script, if everything isn't as expected, the test will fail. This can be useful if you would like the test to confirm the state of the phone before taking the next step. If this is not a concern, you can add the -u back in, and we will only look for the button pressed, instead of back checking the entire page. Because we are writing the script on the same phone we will run it back on, our trials so far show that -u makes the system a little easier and faster to use but if you need that verification, you can always remove the -u and get the screen state after every step.
- Another thing we can consider adding is the -L tag. This tag logs the actions of the script to the adb log. This means if you read the logcat later, the actions, like click on settings, will appear in the output. We will not add this for the example illustrated here, but if we are to run a test on our own application, this could be more useful.
As an example, run the script below, noticing the tags we have added.
culebra -s pc599.emulab.net:port_number -uUG -P 0.25 -o ~/myfirsttest.py
Then click on the settings button and wait for the page to load.
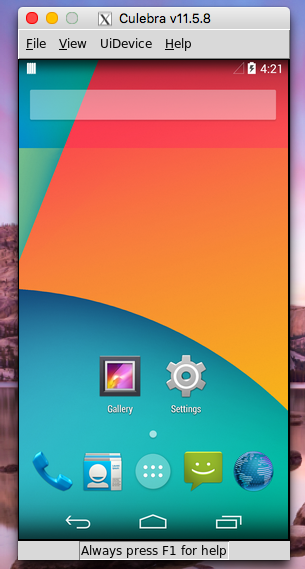
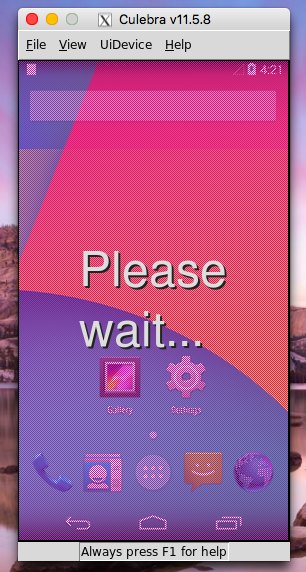
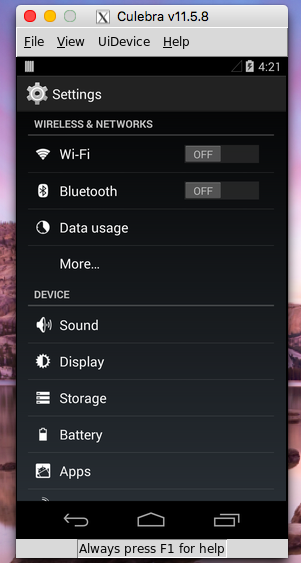
Then click the Display button. Finally, click on the sleep button, and choose Sleep after 30 minutes of inactivity.

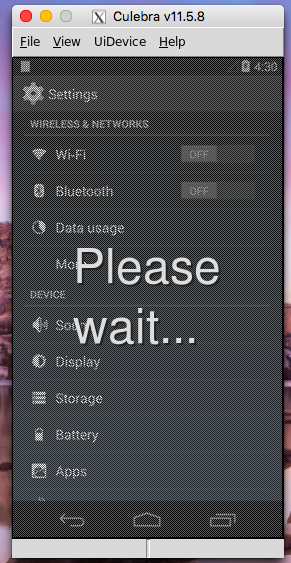
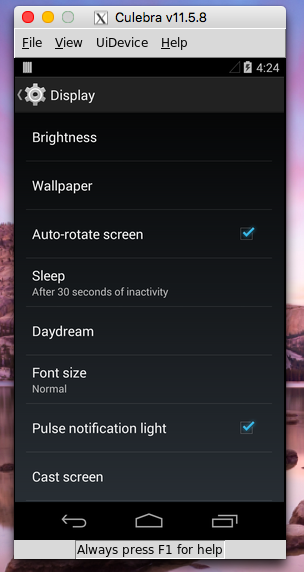
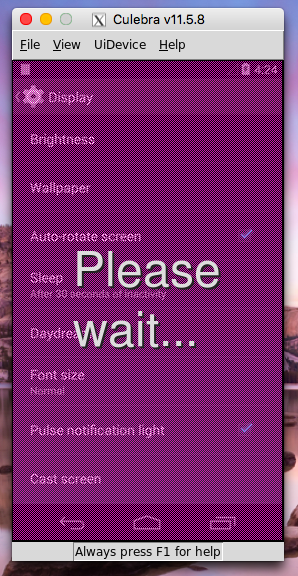
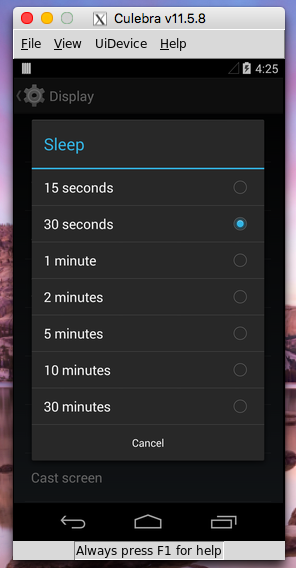
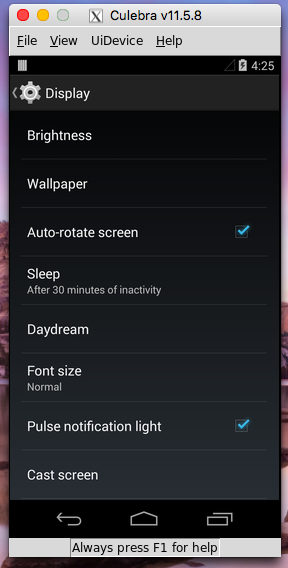
When you are finished, click the close button on the culebra screen. This ends the script generation. Again, you may need to be patient with the system as it tends to react slowly. Now when we run ls in the home directory we see myfirststep.py.
Before running the script you must insure that you are on the same page that you started the test script in. So if I start the script from the home screen, run the script from the home screen. If we do not run from the same screen even with screen dumping off, the system will give an error similar to the one below.

If you see an error similar to this one above, make sure you are on the same page you started your test on (this applies to a test with/without the -u). In order to take it back to the home screen, you can type in this shortcut to take care of it for you:
adb shell am start -a android.intent.action.MAIN -c android.intent.category.HOME
When you are ready to run the script:
./myfirststep.py -s pc599.emulab.net:port_number
After you run the script, a success should output something like this:

Once this is done, you can confirm the results of the script by opening the culebra screen again (without saving the script, since we're just checking that our script worked):
culebra -s pc599.emulab.net:port_number -uG -P 0.25
Adding -v when we run the script will make the output more talkative, so it will tell you what it is both clicking on and checking for as it goes through the script.
Feel free to go back through and play with the settings and setup of both the scripting and the running of the script. As always, you can add --help after each to see the options you have.
Scripting with the Culebra GUI using a Local UE
In developing the interface for our users, we realized a potential option for ease of use would be if the user could hook a phone up to their local machine, and run the resulting tests on the remote UE.
To start, we must make sure that ADB is installed on your local machine and is functioning. Note, ADB/Android tools require updated Java.
Linux:
sudo apt-get install android-tools-adb
For Mac and Windows, you will probably have to install the entire SDK:
Mac: Install from android-sdk_r24.4.1-macosx.zip.
Windows: Install from installer_r24.4.1-windows.exe.
Before moving on, check that your ADB is functioning as it should be. Connect an android phone to your local machine via USB connection. On the phone, navigate to settings and scroll down to developer options.
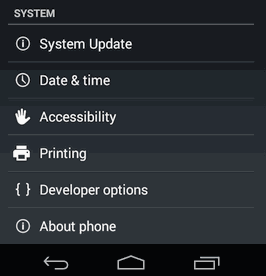
Inside developer options, make sure USB debugging is enabled, otherwise, ADB won't be able to connect to your device.

If you don't see developer options, go to About Phone at the bottom of the Settings page, scroll down to Build Number, and click it 7 times. This will enable developer options on your phone.
Once you've done this, go back to your terminal and type:
adb devices
Much like the wrapped version we used on the adb-tgt node in our experiment, it will start the ADB daemon and connect automatically to your device. You should see an output similar to the one below:

Once you are connected you can play around with your phone much like you were able to when you were connected to the UE on the adb-tgt node. ADB also allows us to connect to the device using the Culebra GUI.
Next, we must download the Culebra software onto your local machine. In order for the GUI to work, you must download the latest version of Python 2.x. Do not download Python 3.x as the Culebra system is designed to work with Python 2.x. Follow the instructions to update python and add the necessary Pillow add-on.
Open this page, and then open a terminal and write:
python -V
This will print out your Python version number. Check this number with the one on the top of the downloads page (the 2.x number) you just opened in your browser. If they are the same, you're good to go, otherwise download the newer version. Follow the download instructions, then run the above command again to make sure you have the new version installed.
To download AndroidViewClient (Culebra's "Parent") and Pillow (window system for python) complete the following steps:
Linux:
sudo apt-get install python-setuptools
sudo easy_install --upgrade androidviewclient
This downloads the AndroidViewClient. Then for Pillow:
easy_install Pillow
MacOSX and Windows:
For Mac and Windows we recommend using the pip tool from python:
pip install -U setuptools
sudo easy_install --upgrade androidviewclient
This downloads the AndroidViewClient. Then for Pillow:
easy_install Pillow
Now we should have all the pieces in place to start using the Culebra GUI on the local device. Make sure your device is connected over ADB the type:
culebra -uG -P 0.25
Note that we no longer spell out the serial number. Due to our PhantomNet infrastructure, we have to manually pass the serial number, but when using Culebra on your local machine, this is not necessary (unless it can't find the device in which case go ahead and add it). This command will open up a pillow window that will, like before, be the view of the screen. We interact with it in the exact same way that we interacted with the one we generated from our X forwarding. Like before, we can also add the -o followed by the filename and the -U to generate a script we can play back.
However, because we are no longer using the same device, we have complications. Because the screen on your local phone is most likely different from the UE device on PhantomNet, adding the -u is most likely necessary so that it doesn't crash due to the difference in phone screens. Adding the -u solves this problem given you are using the same android version. If you are not we run into some more complications, ones that we can solve by looking closer at the way the Culebra system generates its scripts.
The system is built on identifying views, and then subsequently interacting with them. Even if we add the -u (reminder: with this option, it no longer confirms the state of every screen) it still tries to identify the buttons on the screen we are clicking when generating the scripts. The system completes this by using three different recognizing attributes:
- findViewById() - uses a generated ID for the view (button) on the screen to identify and find the one you are interacting with.
- findViewWithText() - uses the text for the view to identify and find the one you are interacting with.
- findViewsWithContentDescription() - uses the description of the view to identify and find the one you are interacting with.
When scripting across a version difference (our UEs on PhantomNet are currently Android 4, while many Androids are now Android 5), you may find an error similar to this:
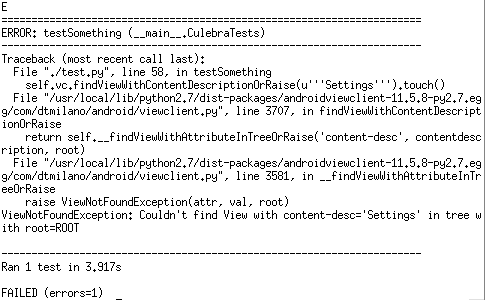
Looking through the error message, we see that our attempt to run the script has failed because: Couldn't find View with content-desc='Settings'. The script I ran to generate this error was created on a device with Android 5 before being run on our Android 4 device in PhantomNet. As we can see it is the third way of finding and identifying the views that is causing our script to crash. If you develop a script and see this kind of error, first check that you are starting on the same page you started the script from. If the error is still occurring like above, we can remove several of the three ways the system finds the views. By adding -option off to our call of culebra, it will no longer use the option specified.
Remove Find View by Id add: -i off
Remove Find View by Text add: -t off
Remove Find View by Description add: -d off
By playing around with these settings, you should still be able to generate a script on a different version of Android and play it back on our Android 4 UE device. If you can't get this to work, you can always use our adb-tgt to generate the script, like we did earlier.
Something to notice, is that when you don't click on a button, for example, if you click somewhere in open space, the system uses pixels to identify where you clicked. Thus if you have a different pixel density and click somewhere that is not a button, that click might end up somewhere else on the remote UE device. This is something to consider when creating your script.
To test that you can effectively create a script locally and run it on the remote, we will attempt to replicate the script we created on the remote but on the local. To start, make sure the phone you have hooked to your machine has the settings app on its home screen. This means you can interact similarly to the remote UE. When you're ready, type into your local machine terminal (substituting in your file path to save the script):
culebra -uUG -P 0.25 -o /Path/To/File.py
As before, click on the Settings app, then go to Display, then on Sleep, and set the Sleep setting to 5 minutes this time (This will allow us to see the change on the remote when we run the script). When you have completed this, once again, click on the x in the top left corner of the screen, and you should see the python script wherever you told the computer to save it. Next, we will copy this script over to the adb-tgt, where we can then run it on the remote UE. To do this
scp /Path/To/File.py username@pchost.emulab.net:~/filename.py
Substitute in your path to the local test file, your username, your pchost (get this from the list view of your PhantomNet experiment), and finally the filename you want the script to be saved to on the remote. Once you've done this an ls on the adb-tgt will show your file. Once again, make sure the phone is on the correct starting page and run the script:
./filename.py -s pc599.emulab.net:port_number
As before, the test should run, send a success message, and you can open a culebra connection to make sure it worked!
